2010. 5. 25. 21:24ㆍ프로그래밍일반
* 취미삼아 안드로이드를 천천히 해보려고 합니다. from macula(ncanis)
2010년 5월 25일을 기준으로 한다.
1. JDK6 update 20 버전을 설치한다.
http://java.sun.com/javase/downloads/index.jsp
2. Eclipse 갈릴레오 3.5버전을 설치한다.
http://www.eclipse.org/downloads/download.php?file=/technology/epp/downloads/release/galileo/SR2/eclipse-jee-galileo-SR2-win32.zip
3. 안드로이드 개발 홈페이지를 방문해 Eclipse 안드로이드 플러그인을 설치한다.
http://developer.android.com/sdk/eclipse-adt.html 에 자세한 설명이 나와있다.
- Start Eclipse, then select Help > Install New Software.
- In the Available Software dialog, click Add....
- In the Add Site dialog that appears, enter a name for the remote site (for example, "Android Plugin") in the "Name" field.
In the "Location" field, enter this URL:
https://dl-ssl.google.com/android/eclipse/
Note: If you have trouble acquiring the plugin, you can try using "http" in the URL, instead of "https" (https is preferred for security reasons).
Click OK.
- Back in the Available Software view, you should now see "Developer Tools" added to the list. Select the checkbox next to Developer Tools, which will automatically select the nested tools Android DDMS and Android Development Tools. Click Next.
- In the resulting Install Details dialog, the Android DDMS and Android Development Tools features are listed. Click Next to read and accept the license agreement and install any dependencies, then click Finish.
- Restart Eclipse.
4. 이제 안드로이드 SDK를 다운로드 한다.
http://developer.android.com/sdk/index.html 에서 http://developer.android.com/sdk/download.html?v=android-sdk_r06-windows.zip
를 다운로드 한다.
5. Eclipse에 설치한 안드로이드 SDK 위치를 설정한다.
Windows > Preference > Android > Browse 로 가서 위치를 설정한다.

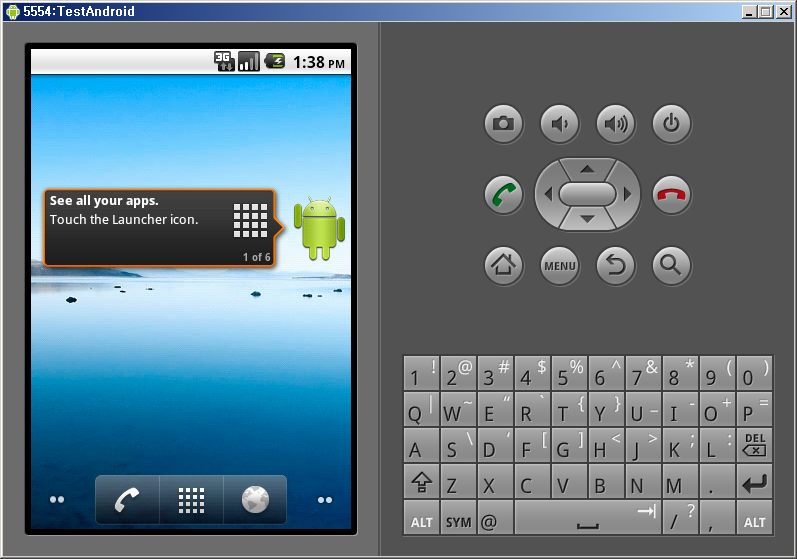
6. 안드로이드 SDK Manager를 실행한다.
아래에 보면 상단 메뉴 툴바에 안드로이드 로고 아이콘이 보인다. 그걸 클릭하면 된다.
아니면 Window/안드로이드 SDK AVD Manager 메뉴를 선택하면 된다.
Installed Packages 를 선택해서 업데이트를 다 하자, 좀 오래 걸리기는 하는데 그래도 첨에만 그러니.

참고:
emulator: ERROR: bad config: virtual device directory lacks config.ini
는 한글계정으로 로그인한 경우에 발생한다.
안드로이드는 가상장치를 계정폴더안에 저장하기 때문이다.
한글이 없는 경로에 새로운 avd를 create하면 된다.
1. cmd창에서 안드로이드SDK경로/tools 폴더로 이동한다.
2. android create avd -n <가상장치이름> -p <경로> 를 실행한다.
3. Android SDK AVD Manager를 다시 띄우면 AVD가 생성되어 있는것을 볼수 있다.